Integration Overview
This guide provides a complete walkthrough for integrating with Nopan - from account creation and credential provisioning to first API calls and Go-Live.
Integration at a glance

Dive into our AI integration skills and drop them on Claude Code, Cursor, Copilot, or any agent of your choice. They encode the workflows, decision rules, and pitfalls of a Nopan integration so your agent can ship faster and stay current as the docs evolve.
Getting Started: Day 1
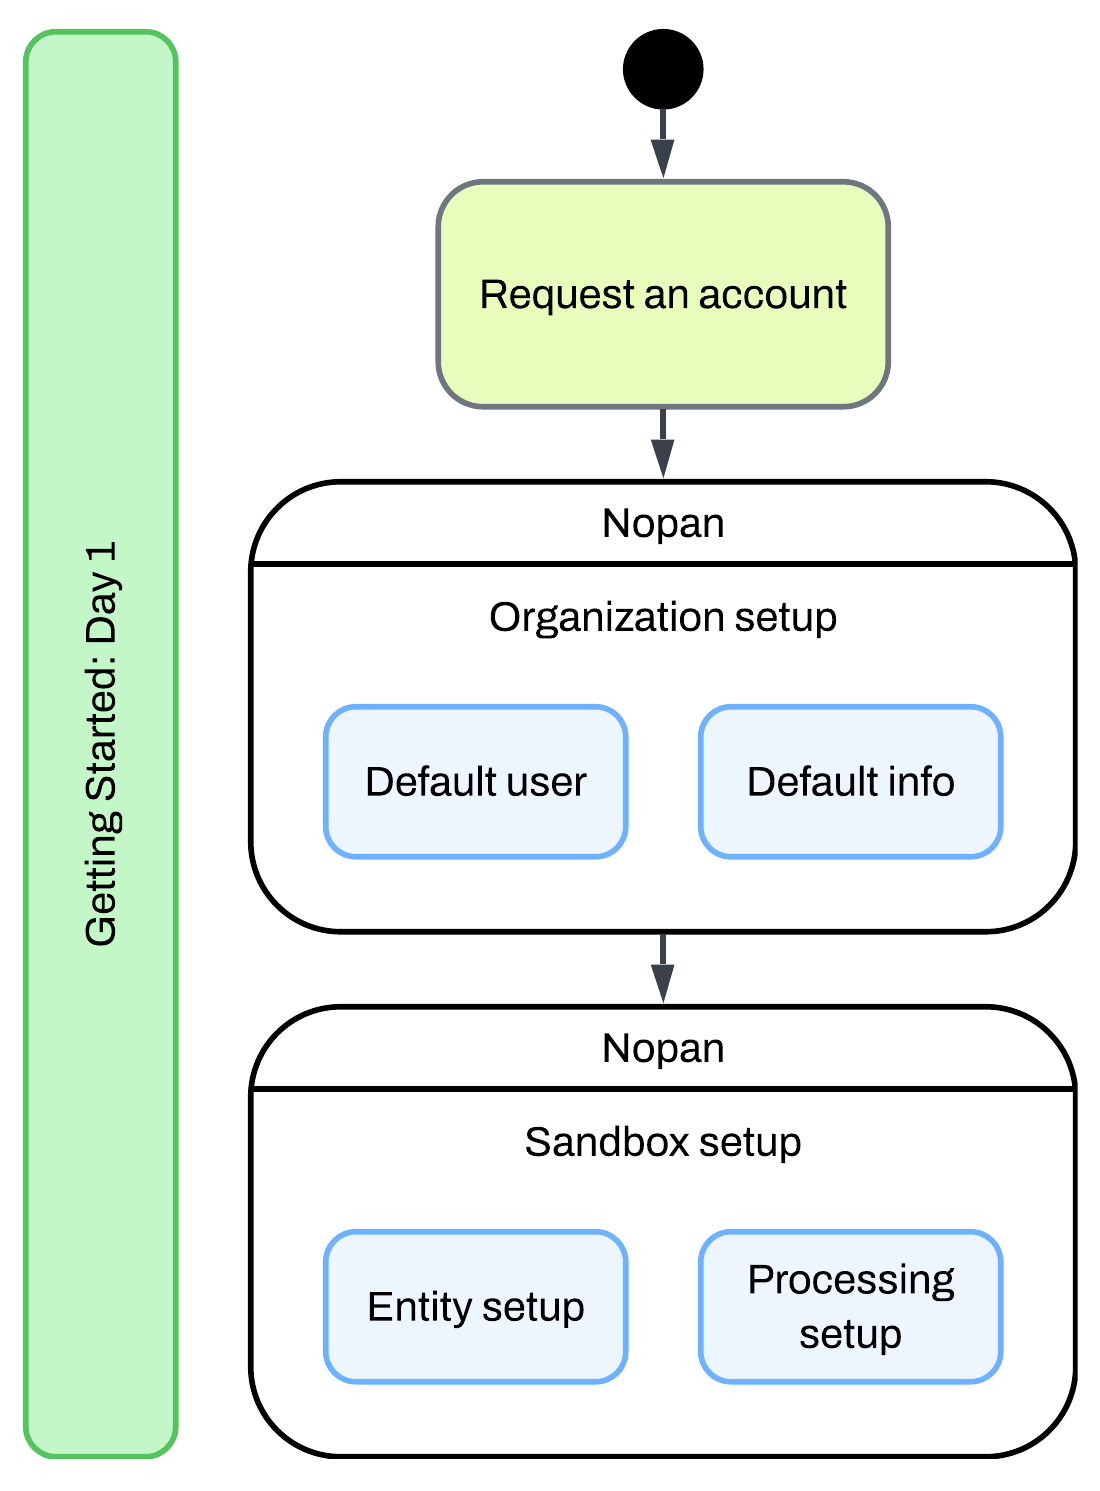
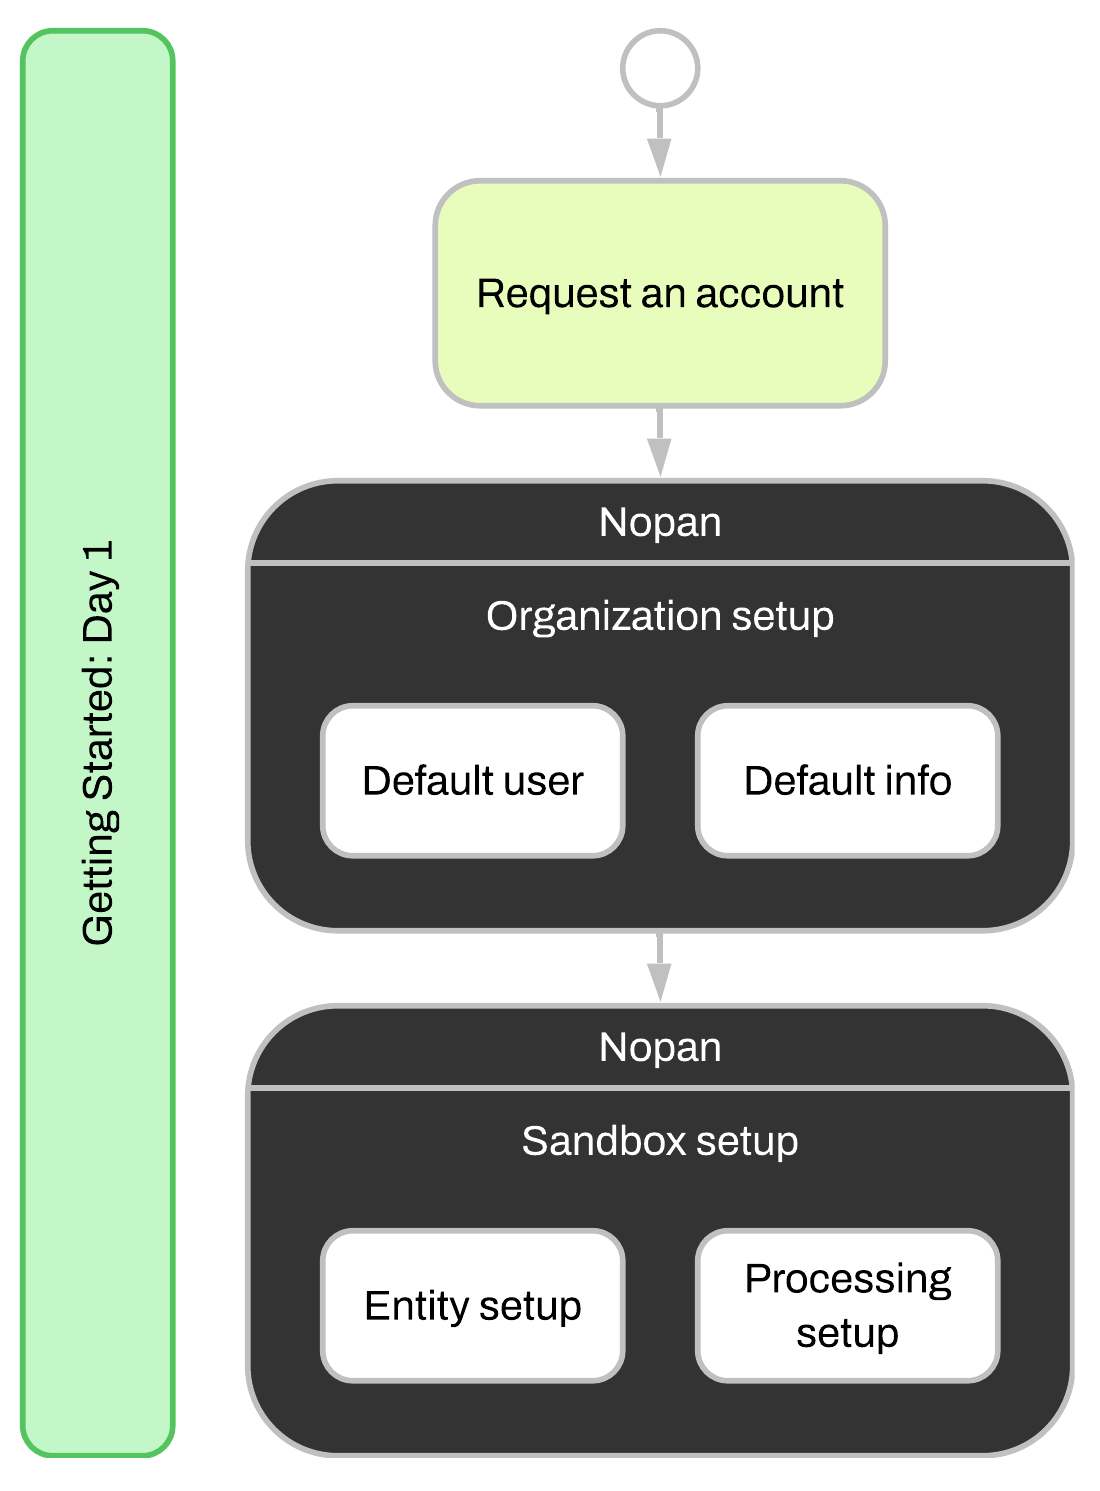
Once you’ve chosen to integrate with Nopan, your onboarding begins by requesting an account through your Nopan contact.
Request an Account Request Access
Once your account is created, we’ll provision your default user, organization structure, and initial configuration info to help you get started quickly. You'll get:
- An initial organization profile and configuration
- A default admin user
- Access to the sandbox portal with minimal setup
We’ll configure your sandbox environment for testing.
- Set up a default Contracting Entity
- Configure sandbox Processing Account
- Enable endpoint testing with mock data
Need help modeling your account hierarchy? See our Account Structure guide for best practices.
Setup a deep dive with our implementation team to discuss your specific requirements.
Technical Onboarding: Weeks 1–4
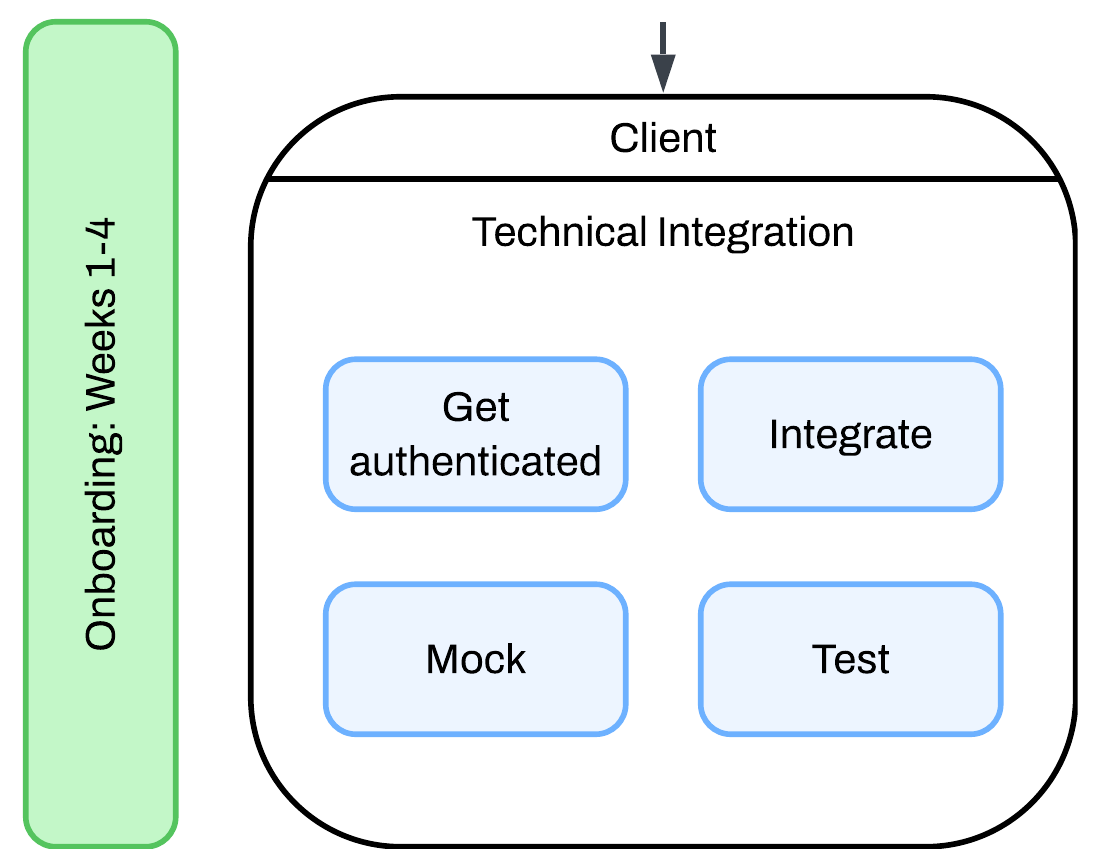
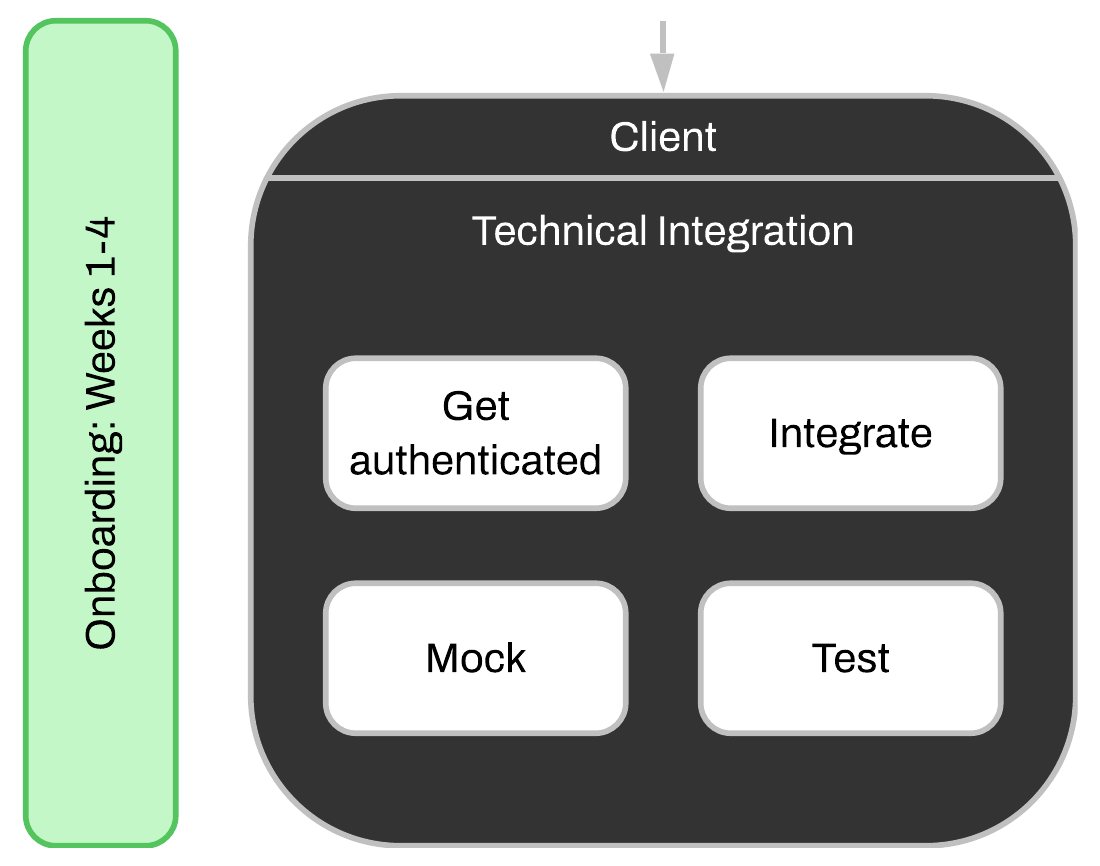
Technical Integration Developer Setup
Your team will integrate against Nopan’s APIs with your sandbox credentials. Here’s what you’ll need:
- Provision mTLS client certificate
- Register your public signing key
- Obtain access token via OAuth
- Send signed and authenticated requests
Use the sandbox Mocking and download Postman collection to validate integration flows and automate your testing of signing, payloads, and error handling.
API base url for sandbox environment: https://api.sandbox.nopan.dev
Not sure what to expect from API responses? See our Error Handling guide for common error codes, retry behavior, and debugging tips.
Business Onboarding: Day 1 - Week 4
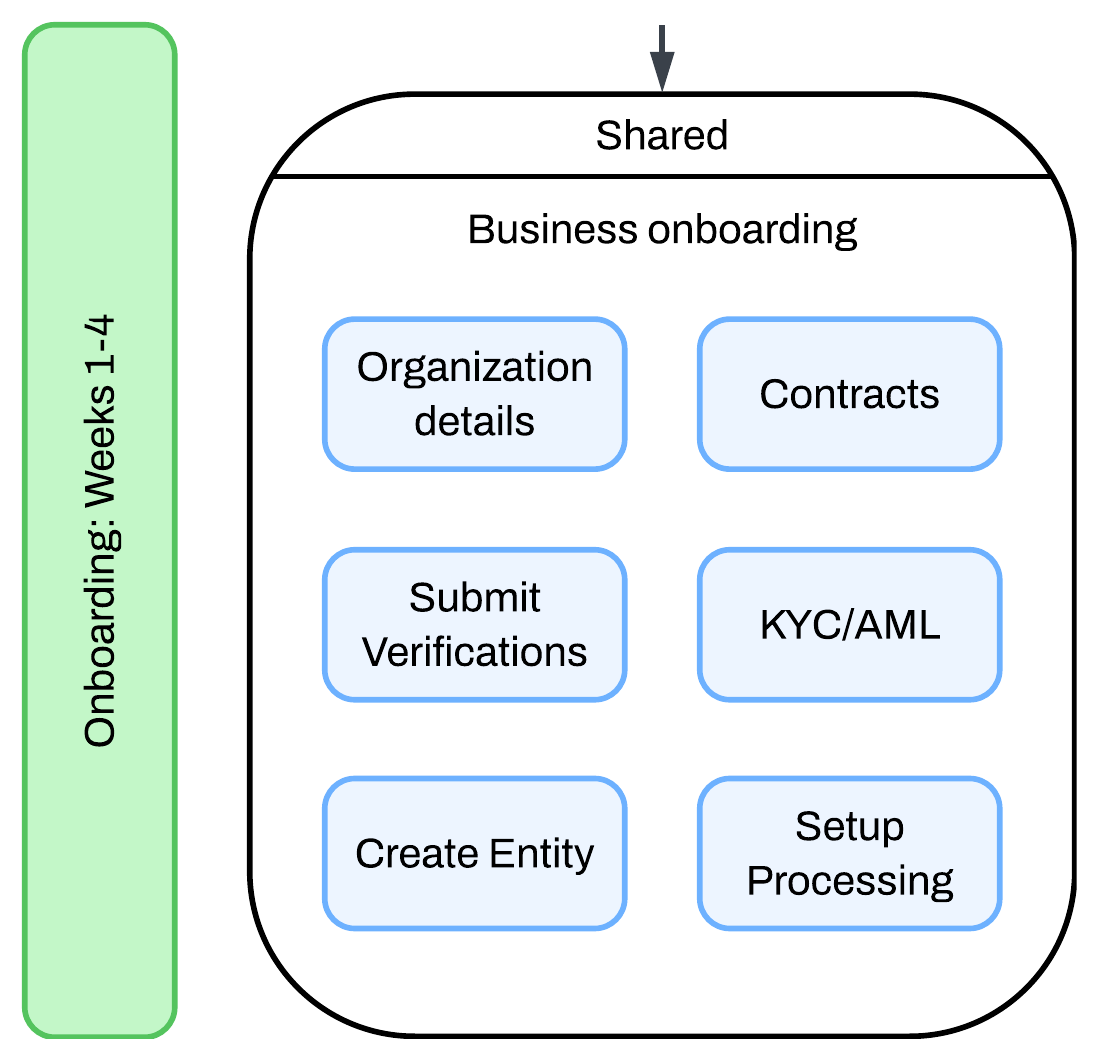
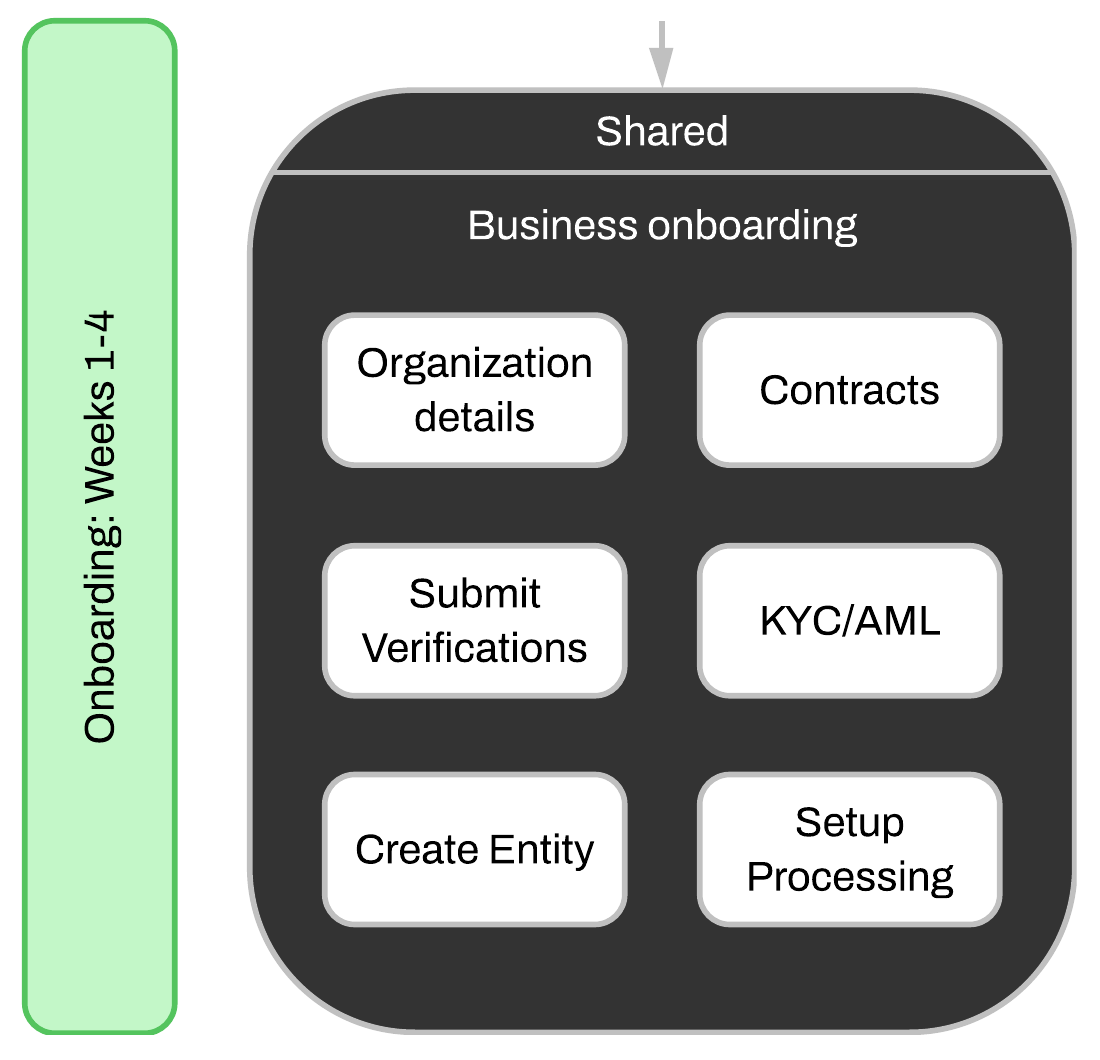
While technical integration is in progress, business onboarding runs in parallel.
Business Tasks Shared
- Enter organization legal details
- Submit required KYC/KYB/AML documentation
- Sign platform and payment contracts
- Configure production processing preferences
This step is jointly owned. Our compliance and onboarding team will support you throughout this step.
Nopan team will guide you if you need help creating the account structure that makes sense for your organization. Read more about Account Structure.
Go-Live: Week 5
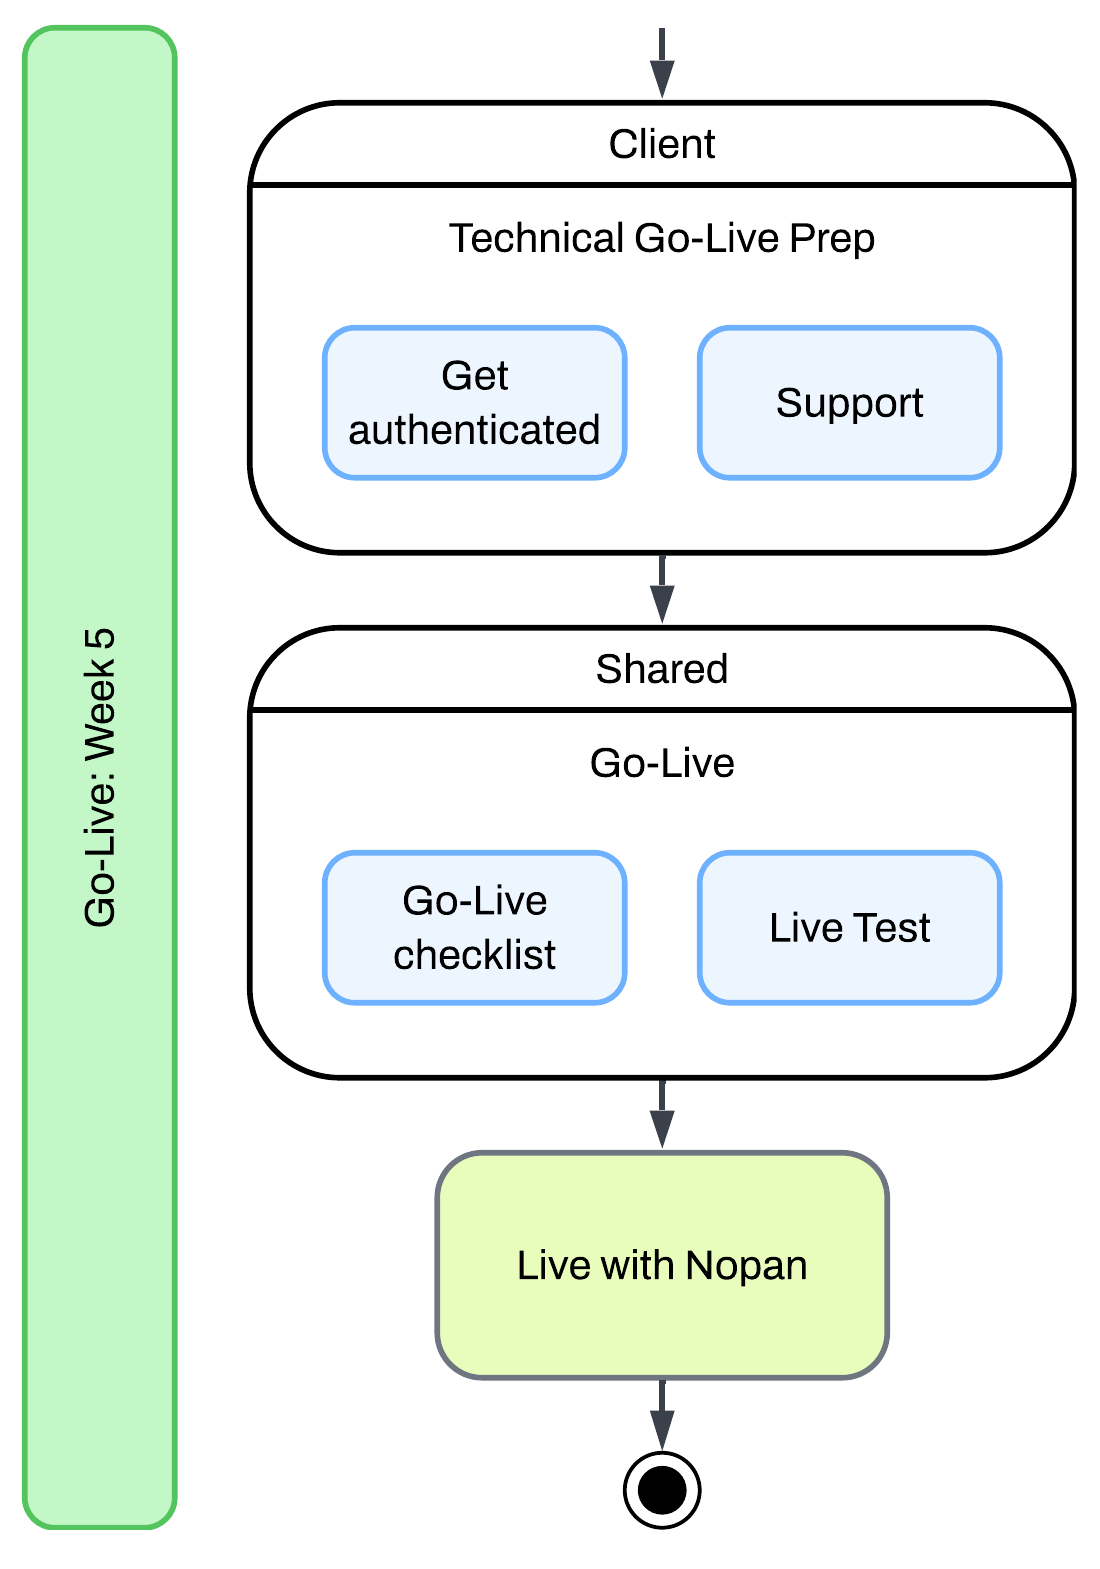
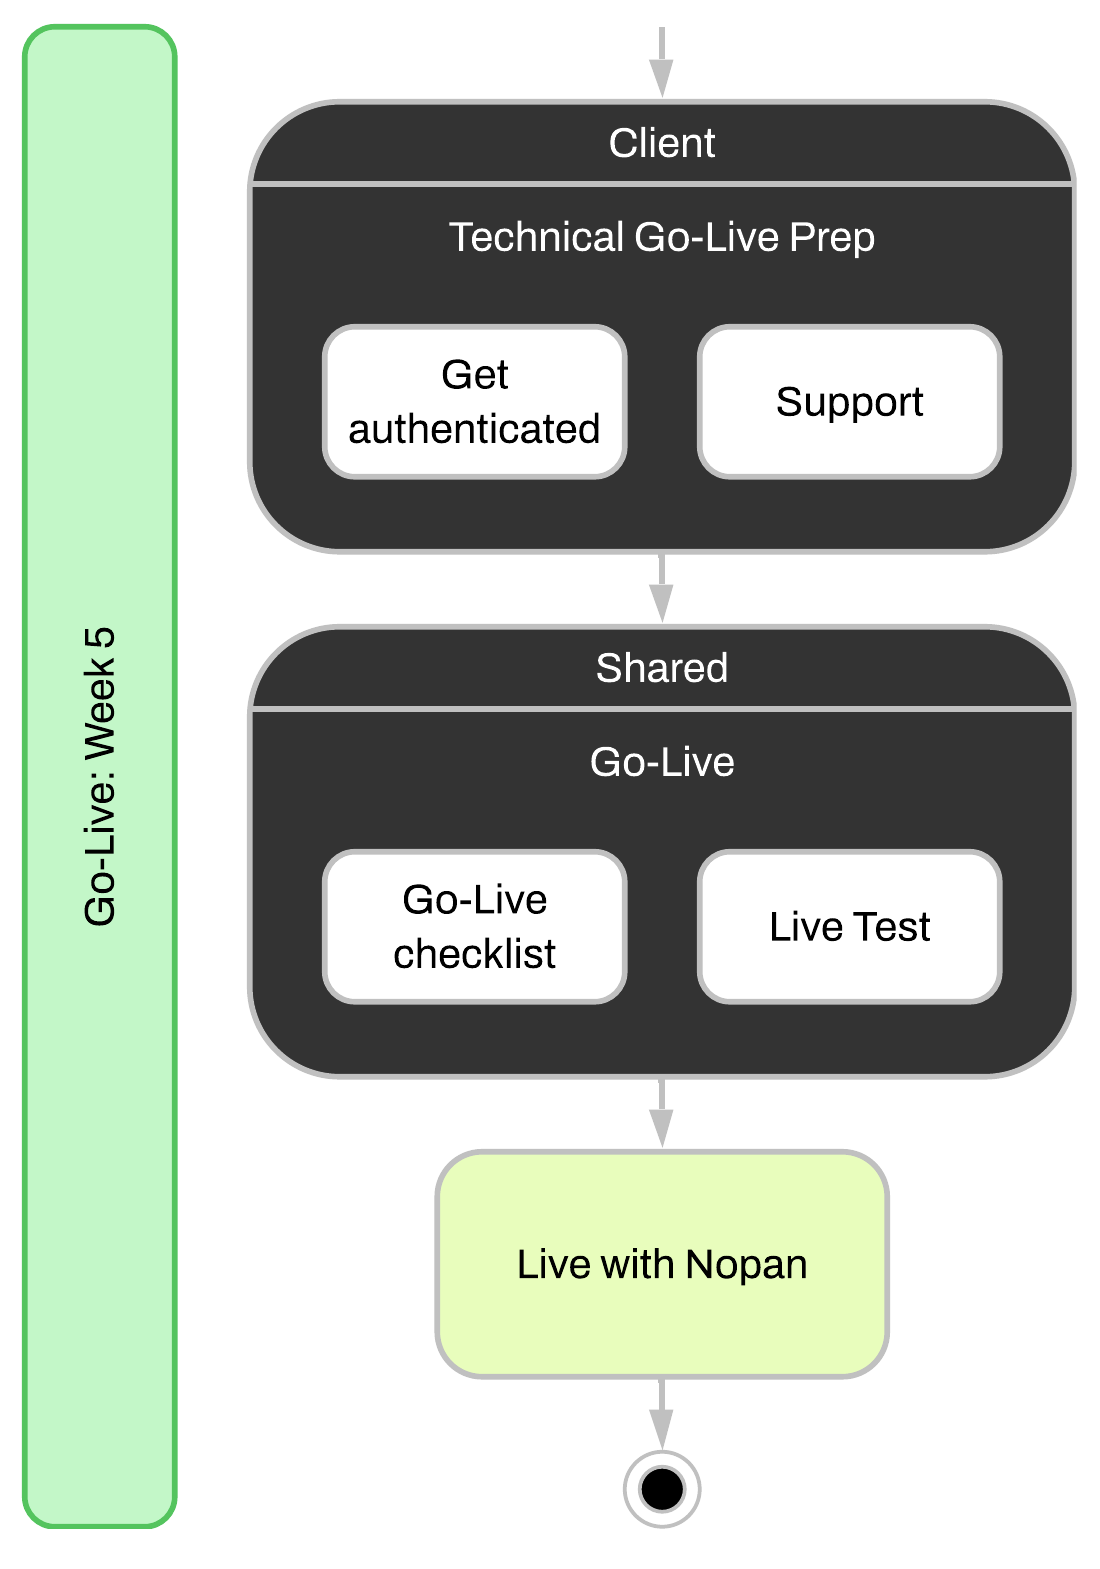
Final Steps Go-Live Prep
Before production access is enabled:
- Tech team: provision live mTLS client certificate
- Tech team: register live public signing key
- All: complete go-live checklist
Once the go-live checklist is complete, production access will be enabled so you can validate integration flows with live data.
API base url for production environment: https://api.nopan.io
Once cleared, Nopan will enable processing account and you can begin processing payments.
- Monitor performance via the Nopan dashboard
- Rotate certs and keys on schedule
- Reach out to Support as needed
Go-Live Checklist
1. Organization Setup
- Organization account created
- At least one contracting entity configured
- At least one processing account configured
- Settlement preferences finalized
2. Compliance Requirements
- KYC / KYB / AML verification completed
- Signed platform and processing agreements submitted
3. Technical Integration Requirements
- mTLS client certificate issued and installed securely
- mTLS connection tested in sandbox and production
- Public signing key registered with Nopan
- Private signing key encrypted at rest
- Certificate/key rotation policy documented
- Access Token retrieval verified in sandbox and production
- Access Token expiration and refresh logic implemented
- Request Signature verified in sandbox
- Webhook notifications configured
4. Functional Testing
- Payment, refund, and webhook flows tested
- Edge cases and error cases covered
- Logging and alerts configured
5. Monitoring and Support
- Dashboard access verified
- Observability/alerting integrated
- Support contacts exchanged
- Escalation process defined
6. Production Enablement
- Final checklist reviewed with Nopan
- Production access granted
- First transaction completed
- Internal go-live communication sent